Introduction
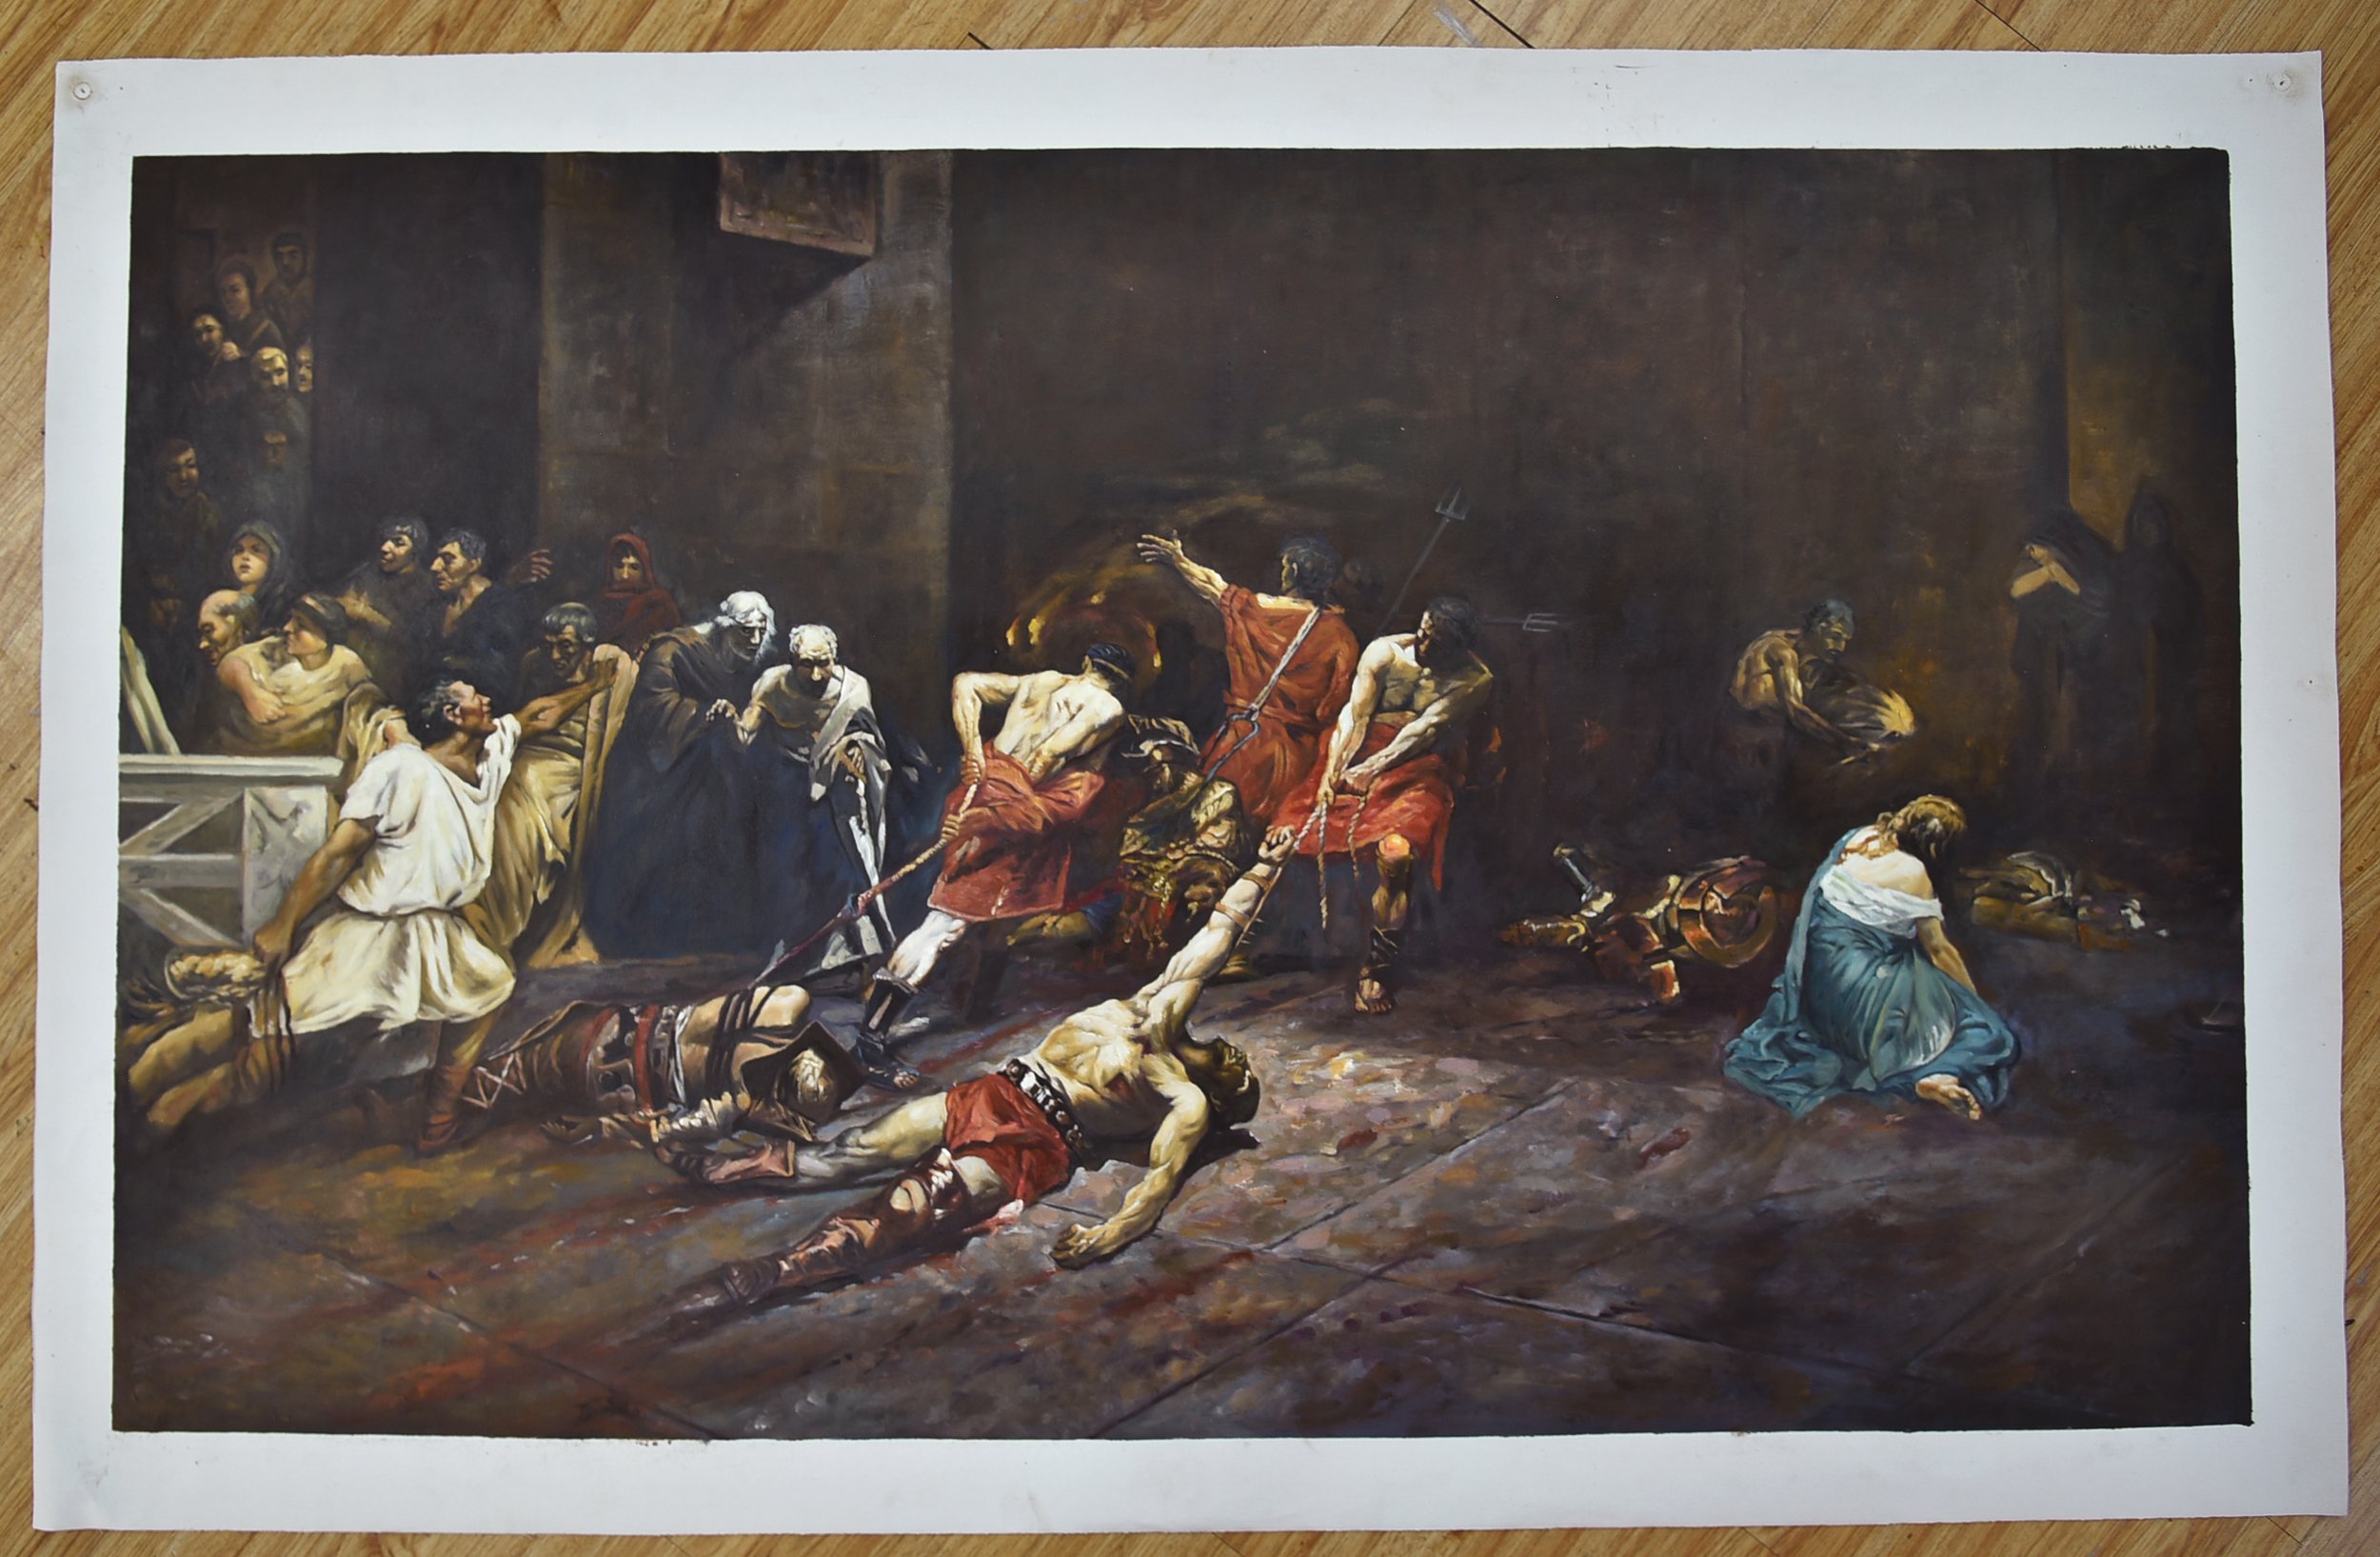
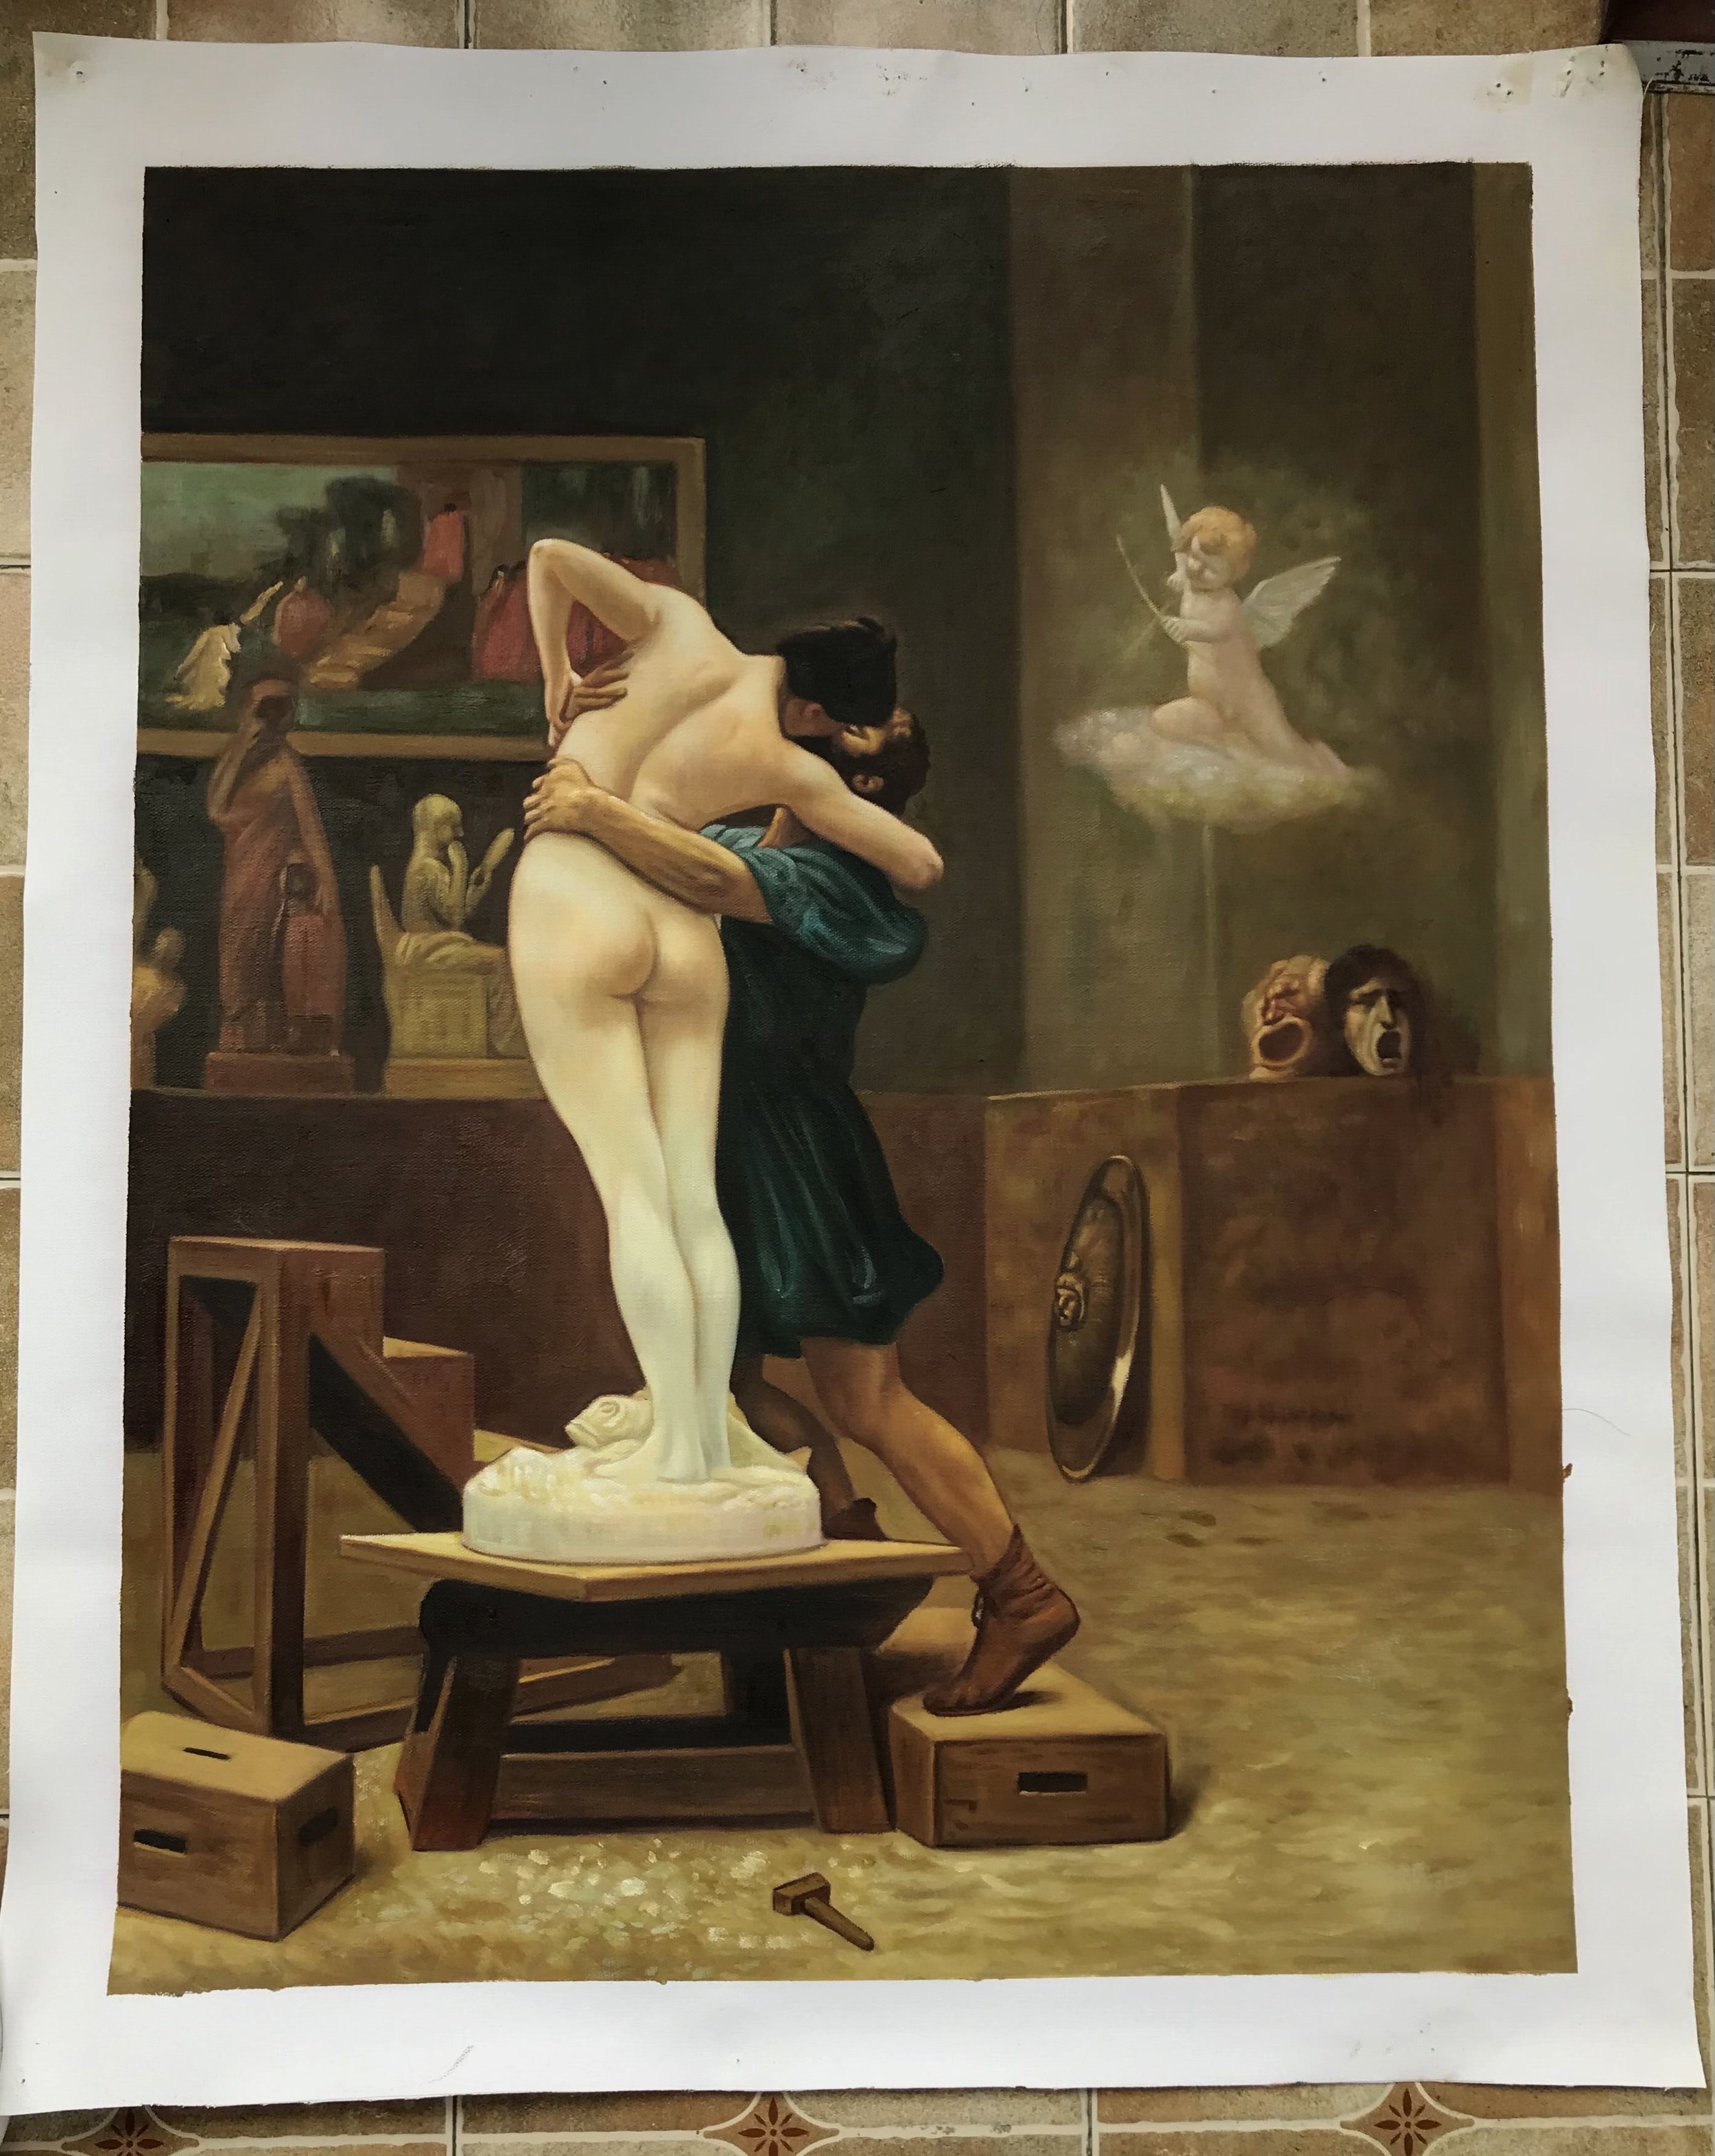
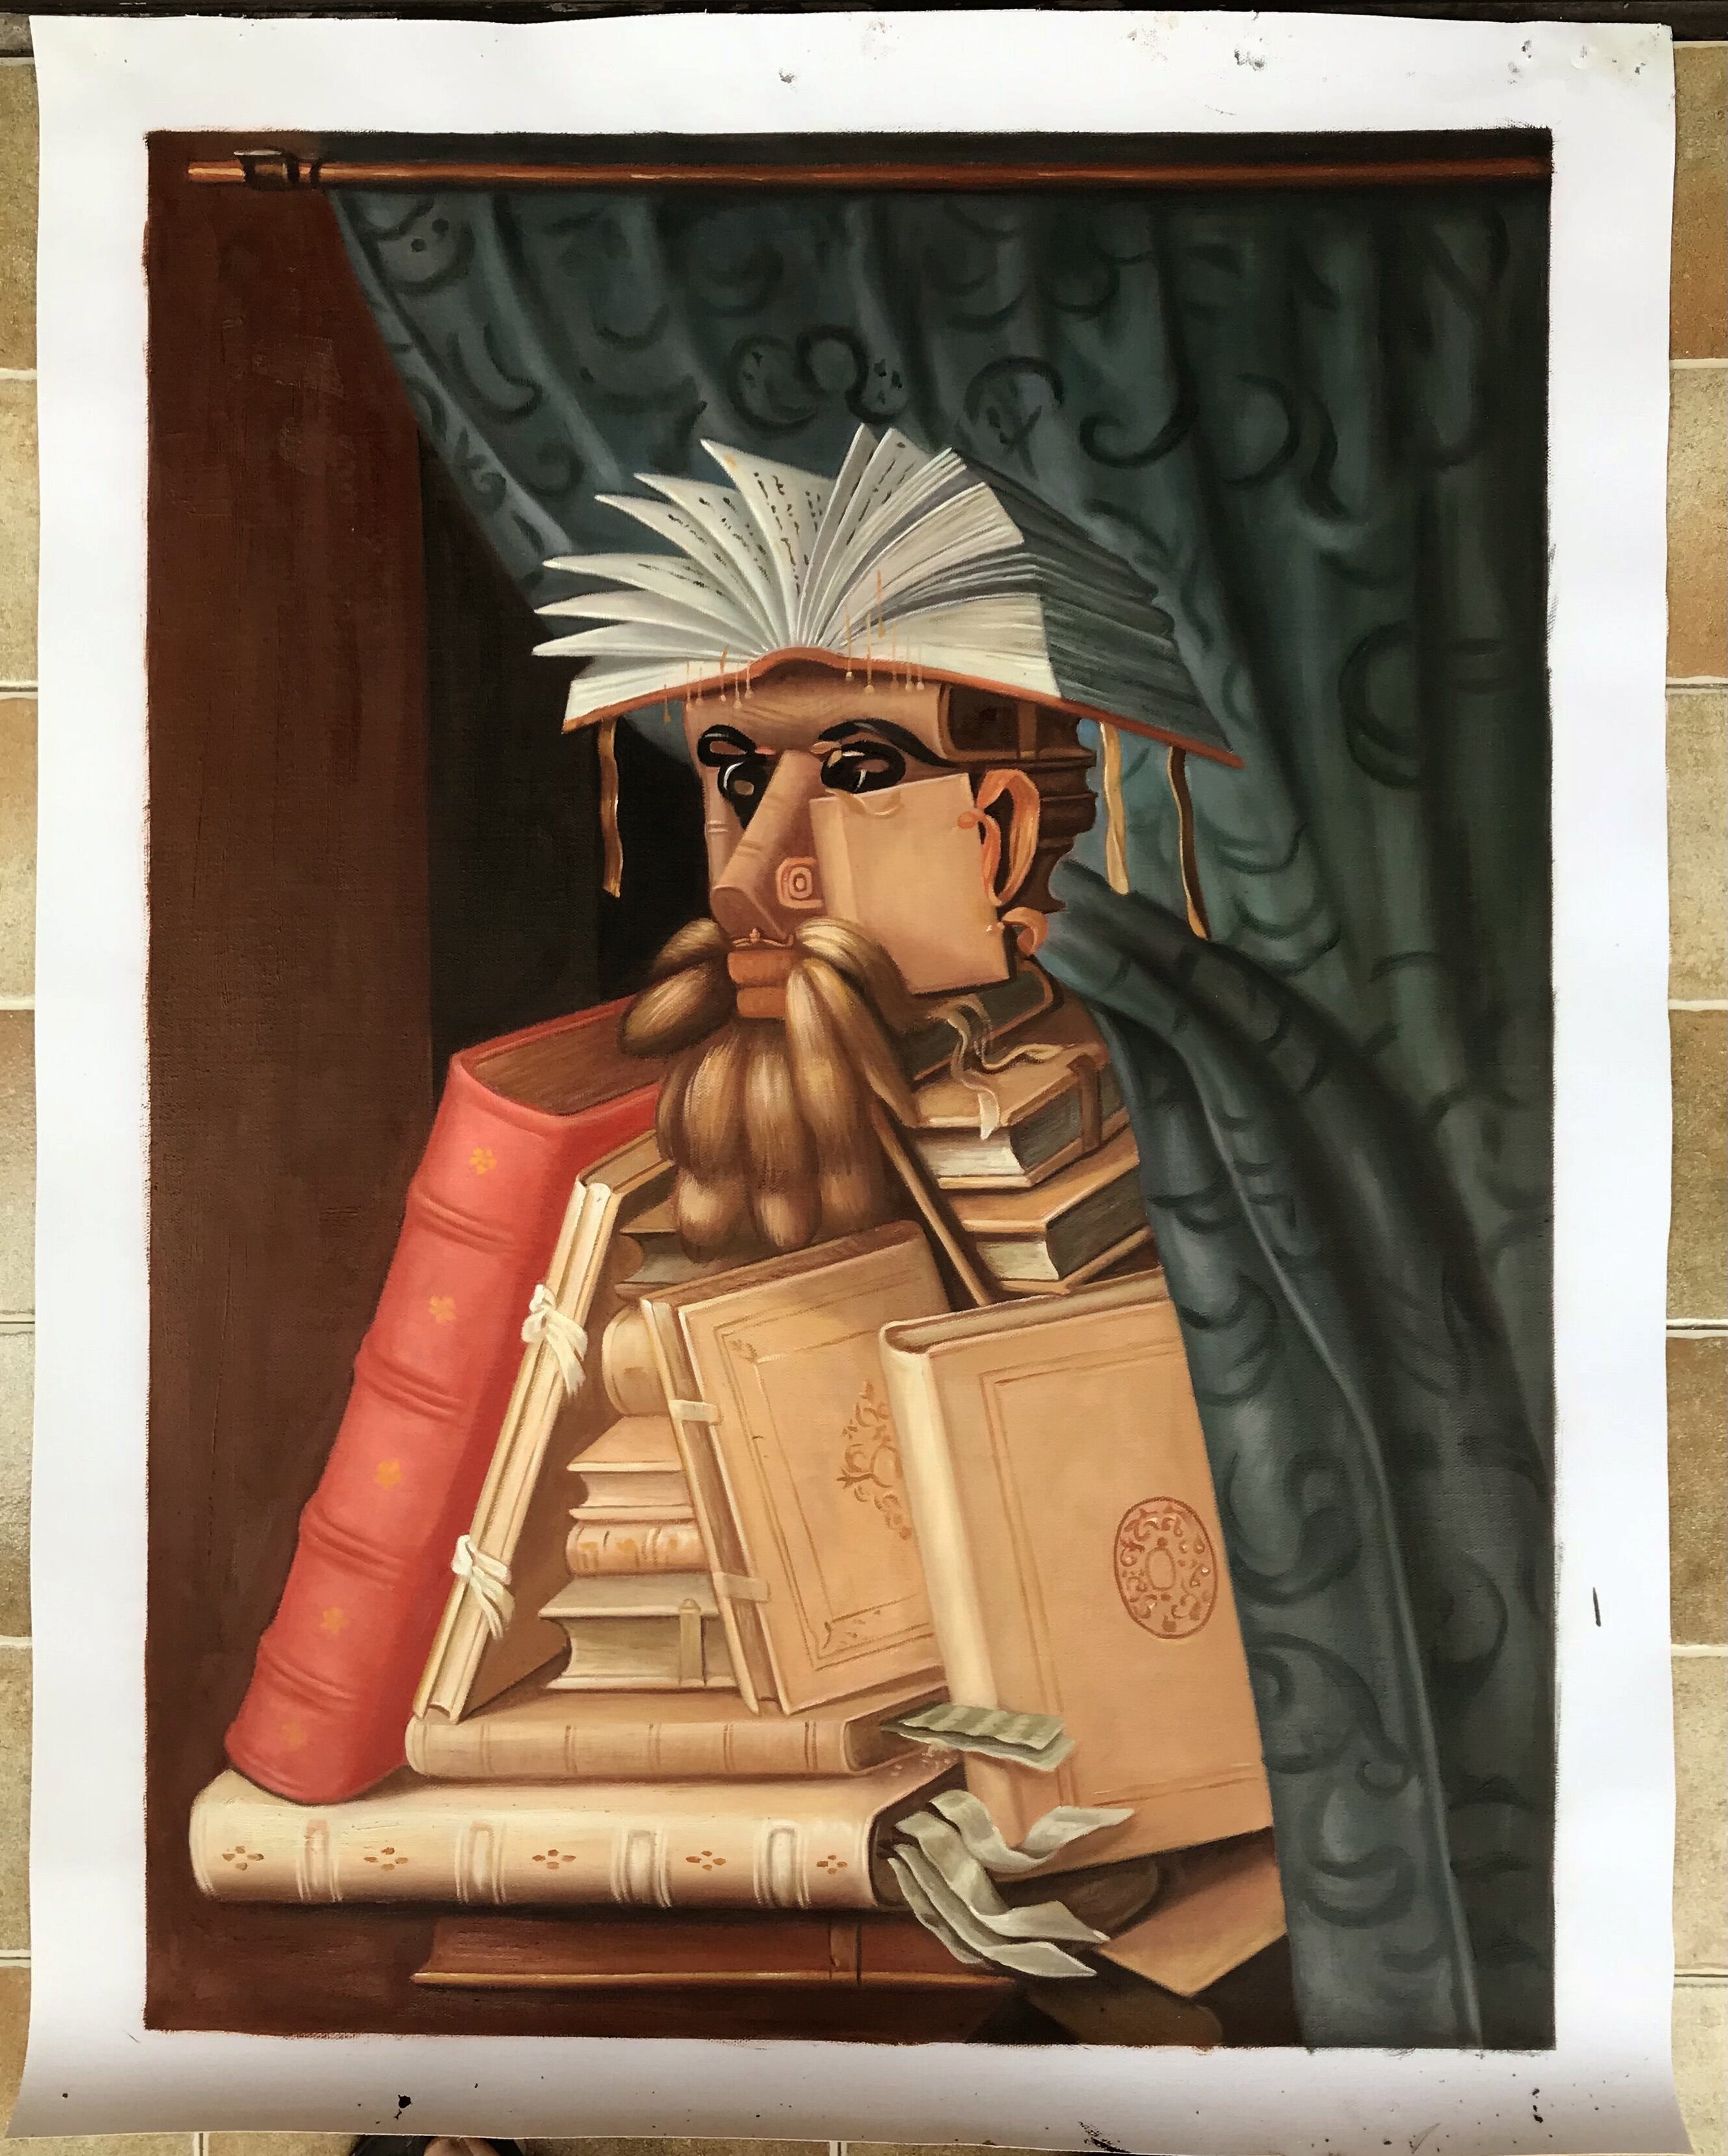
Oil painting, with its rich history and timeless beauty, has been a favorite medium for artists around the world for centuries. The process of creating an oil painting is a fascinating blend of technical skill, creative expression, and a touch of magic. In this blog, we'll take you through the steps involved in crafting a stunning oil painting.
Step 1: Gathering Supplies
Before you start painting, you'll need the right materials:
Canvas: Choose a canvas in the size and shape that suits your vision.
Oil Paints: Invest in high-quality oil paints with a range of colors.
Brushes: Various brush sizes and shapes are essential for different techniques.
Palette: A palette for mixing and blending your colors.
Solvents and Mediums: These help you control the consistency and drying time of your paint.
Easel: A sturdy easel ensures comfortable painting.
Step 2: Preparing the Canvas
Stretch your canvas onto the easel if it's not pre-stretched. Then, apply a layer of gesso to prime the canvas. Gesso provides a smooth surface and prevents the oil from seeping into the canvas.
Step 3: Sketching
Using a pencil or thinned paint, sketch your subject onto the canvas. This initial drawing is essential for accurate proportions and composition.
Step 4: Mixing Colors
Oil paints are known for their vibrant, luminous quality. To achieve the right color, mix your paints on the palette. Experiment with different color combinations until you achieve the desired shades and tones.
Step 5: Applying the Paint
Now, the real fun begins. Using your brushes, start applying paint to the canvas. Oil paint allows for a variety of techniques, including layering, glazing, and impasto. Each brushstroke contributes to the depth and texture of your painting.
Step 6: Drying Time
Oil paintings take time to dry, which is both a challenge and an advantage. It allows for blending and reworking your painting over an extended period. You can also use various mediums to control drying times.
Step 7: Adding Details
As your painting begins to take shape, focus on adding intricate details. This is where the magic happens. Fine lines, highlights, and subtle changes in color bring your artwork to life.
Step 8: Varnishing
Once your painting is thoroughly dry (usually several weeks to months), it's time to apply a varnish. Varnish not only protects your painting but also enhances its colors, giving it a glossy finish.
Step 9: Signing and Framing
Sign your artwork in a discreet corner, and then choose a frame that complements your painting. The frame should enhance the overall presentation.
Conclusion
Creating an oil painting is a labor of love that requires patience, practice, and a deep connection with your subject. Each stroke of the brush is an opportunity to express yourself, tell a story, or evoke emotions in your audience. So, whether you're a seasoned artist or a beginner, don't be afraid to embark on this artistic journey and let your creativity flow onto the canvas. Happy painting!